
When in Sedona, you need to visit Devil’s Bridge, the largest natural sandstone arch in the area. As one of the famed photo spots in Sedona, Devil’s Bridge is a must-do for adventurers who aren’t afraid of heights. In this post, you will learn more about how to get to the trailhead and then what to expect on the way to this breathtaking hike.
Getting to to the area
There are two primary ways to get to the Devi’s Bridge Trailhead.
No Parking Fee By Car
Follow Dry Creek Road up to the Dry Creek Trailhead. There is a small paved parking lot. This lot fills up quickly so it is recommended to get there early to snag a prime spot. If there are not spots, parking may be permitted along the Dry Creek Road if space allows, or drive up to the Mescal parking lot. For those with 4×4 cars, you can continue driving along Dry Creek Road but it turns into dusty red dirt so is not recommended for all cars.
Free Public Transport
There is a free shuttle that runs from Sedona up to the trailhead. Operating Thursdays through Sundays, you can leave your car at the park and ride. It is only a 10-minute drive to the fist stop at Dry Creek. The second stop is at Mescal Trailhead. For operating times, check the website.

Getting to the Trailhead
Devil’s Bridge via Mescal Trail (4 miles out and back)
Either park or take the shuttle to the Mescal Trailhead. Head across the street from the parking lot and follow the Mescal Trail southeast. You will walk along dried creek beds and scattered desert plants. It will then merge into the Chuck Wagon Trail which you will continue heading east. This part of the trail continues along the creek bed and you will continue through winding paths. It is scenic and relatively flat. It eventually merges with the Devil’s Bridge Trail and you will pass by Dry Creek Road.
Devil’s Bridge via Chuck Wagon Trail (5.7 miles out and back)
Starting at the Dry Creek Trailhead, you can follow Chuck Wagon Trail northbound through winding paths. This path is more scenic and although longer, may be worth the views and interest for more adventurous hikers.
Devil’s Bridge via Dry Creek Road (3.9 miles out and back)
If taking Dry Creek Road, note that it is shared with 4×4 vehicles. The walk is otherwise flat but boring. You will not get much scenery doing this portion of the walk but it is good for those who are tired of hiking. If you do have a high-clearance vehicle, it shortens your hike to under 1.9 miles out and back.

The Climb
Devil’s Bridge Trailhead
You will take the Devil’s Bridge trail which gradually starts inclining up until you reach the steep rocks for a scramble. Here, you will climb up about 500ft of elevation along the red rocks to get up to Devil’s Bridge. Be sure to be courteous of those around you and other hikers. Take your time, it looks worse than it is. It is recommended that people who do it be physically fit enough to climb and maintain balance.

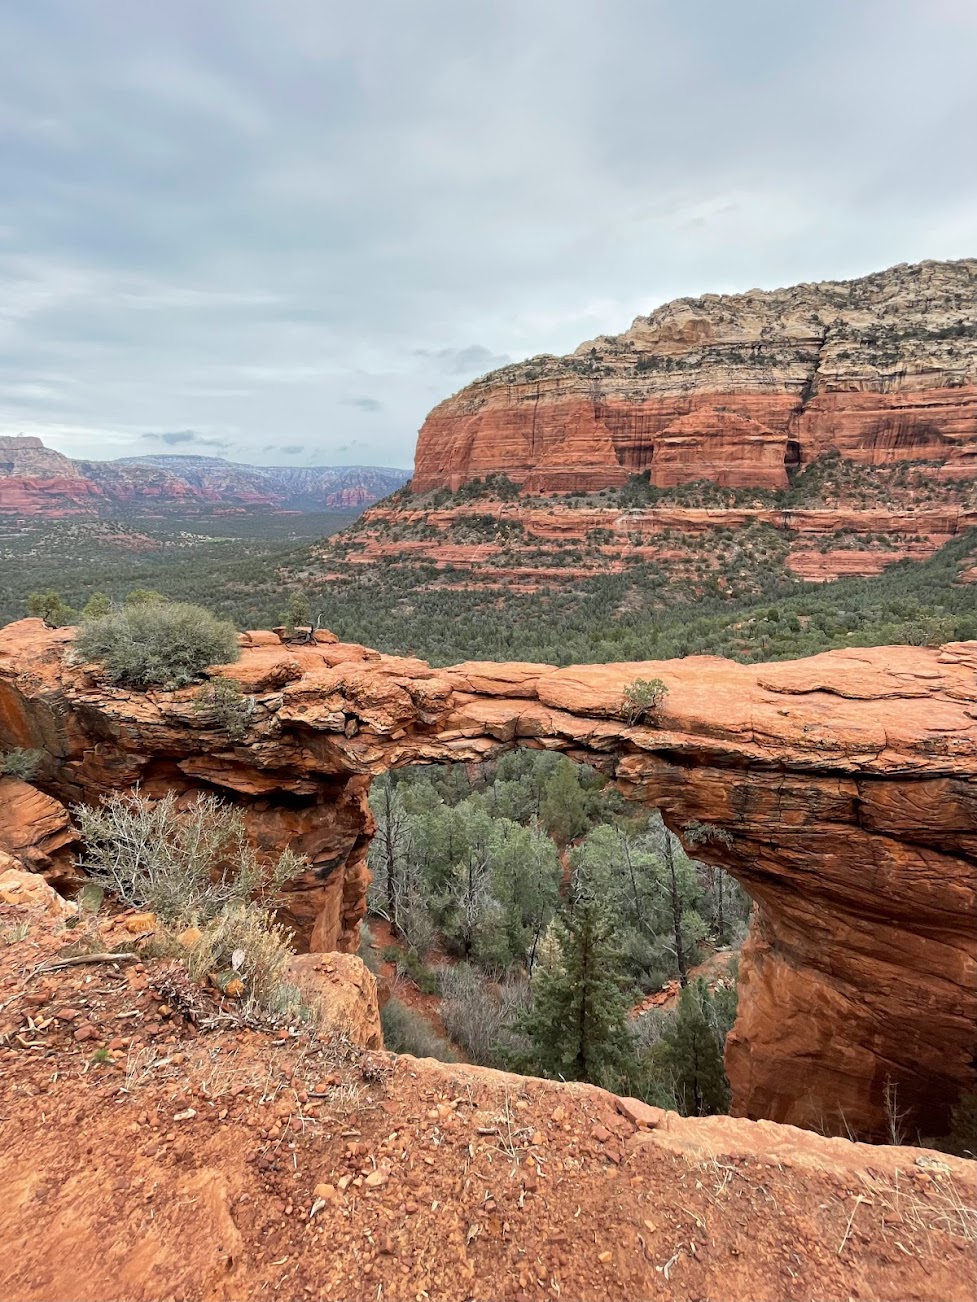
Devil’s Bridge
At the top, you may encounter other hikers waiting in line for a photo op. You line up along the edge of the wall and watch others take turns for the “money shot.” We waited for about twenty minutes, watching people walk across the bridge for a photo. Some were more adventurous than others, opting to jump or sit along the edge. I will admit, being on the bridge wasn’t as scary as it looks from the photographs either.